Palm Nova Launching Boots — An 11½-Year Review

Bought May 2014 · Price Paid: £75 GBP · Current Model: ~£125 GBP

Back in May 2014, I picked up a pair of Palm Nova launching boots — ordered from the UK because that’s usually where the sharper deals are, and the NZ range for this type of gear can be limited. I said I’d report back eventually, and 11 years and 6 months later, here it is.

First Impressions (2014)

Straight out of the box, the boots felt solid and comfortable, with a good grippy sole for ramps and shoreline launching.

But one thing stood out from day one:

👉 The top strap never quite tightened enough.

It did the job, but a little bit of slack always remained, and that occasionally let a splash sneak in during deeper launches.

11+ Years of Real-World Use

After more than a decade of kayak launching, saltwater, sand, mud, winter mornings and summer heat:

  • They’re still in one piece.
  • They stayed comfortable for walking and wading.
  • The sole grip remained reliable, even on slimy ramps.
  • No stitching failures, delamination, or major blowouts.

Eleven years of use gives a fair idea of their long-term durability, and they’ve held up far better than expected. They’ve softened with age — as neoprene always does — but they never quit.

Launching Habit That Helped

During launching I tuck my kayak trousers into the boots, and once I’m in the kayak, I pull them back out over the top.

This simple move stops paddle drip or small chop from finding its way down into the boots once underway.

Care Routine That Made a Big Difference

One of the main reasons they’ve lasted this long is simple:

👉 Rinse thoroughly with fresh water after every use, and let them dry properly.

No shortcuts.

This prevents salt from attacking the stitching, keeps the neoprene healthy, and lets the boots dry without going musty or stiff.

The Updated Model (Observed, Not Owned Yet)

The new Palm Nova sells for around £125 GBP, and the biggest improvement is obvious:

👉 A redesigned top strap with noticeably better adjustment.

That was the only weak point in the old pair, so it’s good to see the update. I haven’t bought the new version yet — I’ll make that call the moment I feel I’ve sprung a leak — but on appearance alone, the improvement is sensible and overdue.

Final Thoughts

After 11½ years, the original Palm Nova boots have proven to be:

  • Durable
  • Practical
  • Comfortable
  • Surprisingly long-lasting, given the conditions they’ve been used in

The updated strap design on the new model appears to fix the only real annoyance the original ever had.

A straightforward, real-world verdict:

These boots go the distance — especially if you look after them.

How to Replace a Damaged Tip-Top Insert (Quick Fix Guide) | K-Labs Custom Rods NZ

When the Tip-Top Insert Breaks

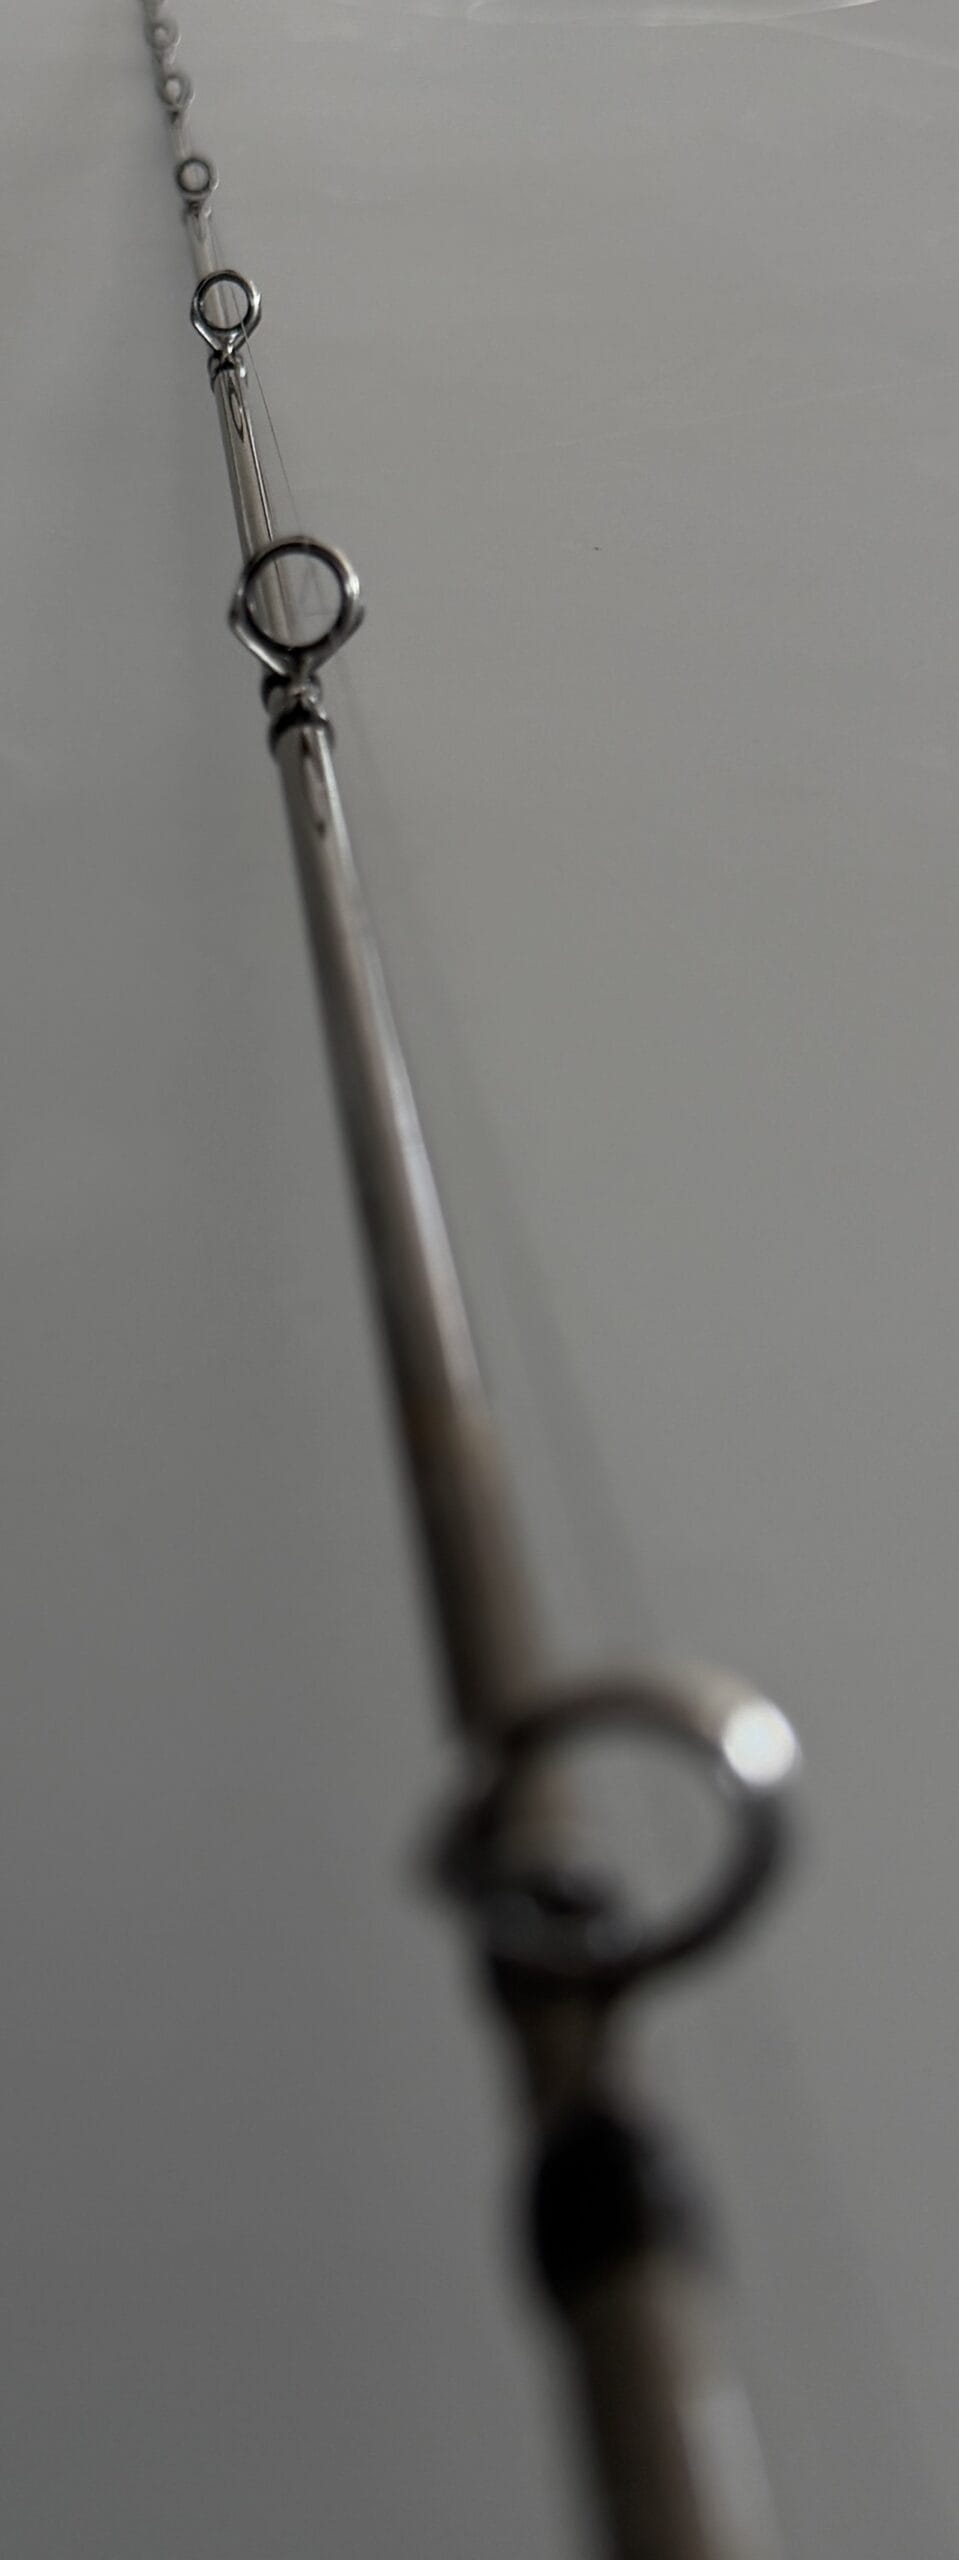
It’s one of the most common issues anglers face — a chipped, cracked, or missing ceramic insert in the tip guide.

You’ll often hear it before you see it — a faint scraping sound as the line runs through, or subtle fraying near your leader knot after a few casts.

The damage isn’t always obvious. A hairline crack or slightly misaligned insert can cut through braid or mono in minutes, especially under tension. That’s why it pays to inspect your tip-top regularly — run a cotton bud or piece of tissue through the ring. If it snags or tears, the insert’s damaged.

The good news? This one’s an easy fix — and with the right materials, you can get back fishing within minutes.

What You’ll Need

To make a quick, reliable repair, you only need a few basic items:

  • Replacement tip-top guide (same ring style as your original)
  • Small lighter or torch
  • Tip-top glue (hot-melt or low-temp adhesive stick)
  • Pliers or multi-tool
  • Optional: 2-part epoxy clear coat for a permanent, watertight seal

Step-by-Step: Replacing the Tip-Top Insert

1. Remove the damaged tip

Gently heat the metal tube of the old tip-top with a lighter for 2–3 seconds. Once the glue softens, grip the guide with pliers and slide it off.

Avoid overheating — you only want to soften the adhesive, not scorch the blank.

2. Clean the rod tip

Wipe away any leftover glue or debris. The end of the blank should be smooth, clean, and free from splinters or loose carbon fibres.

A tidy surface helps the new tip seat evenly and ensures a stronger bond.

3. Heat the glue and fit the new tip

Warm the end of your tip-top glue until soft, then apply a small amount to the blank. Slide the new tip-top onto the rod, twisting slightly to spread the glue evenly inside the tube.

Align the ring perfectly with your other guides while the glue is still soft.

4. Hold until cool

Hold the new tip steady for 30 seconds while the glue sets. Once cool, check that the alignment is perfect — if it’s off, gently reheat and adjust before the adhesive fully hardens.

5. Seal the repair (optional but recommended)

For a longer-lasting, watertight finish, apply a thin coat of 2-part epoxy clear coat around the base of the new tip-top.

This seals out moisture, adds UV protection, and locks the guide in place for years of use.

Pro Insight

A loose or damaged tip insert can easily cut line or weaken knots, often ruining good fish in seconds.

If you hear a rough “sawing” sound during retrieve, or notice scuffed braid, check your tip immediately — even a small crack can do serious damage under load.

At K-Labs Custom Rods, every re-tip is aligned, bonded, and epoxy-sealed using the same precision process as our custom builds.

If you’d rather have it done professionally, we can assess, re-tip, and refinish your rod so it looks and performs like new — perfectly aligned, smooth, and watertight.

How to Fit Fishing Rod Grips Correctly: Building a Seamless Connection Between Grip and Reel Seat

When it comes to custom rod building, the grip and reel seat connection is where craftsmanship truly shows. A poorly fitted grip not only looks rough but can lead to water ingress, uneven reel alignment, and even stress points in the blank.

Here’s how grips should be fitted correctly — from bore sizing to bonding — to create a clean, strong, and watertight finish.

1. Start with the Bore Size

Every grip must fit the blank precisely.

  • The internal diameter (ID) of the grip should be slightly smaller than the outside diameter (OD) of the blank at the mounting point.
  • This ensures a tight, uniform bond once adhesive is applied.
  • Never force a grip onto the blank dry — it can split EVA or distort cork.

👉 Pro Tip: Use reamers to achieve a smooth, tapered fit that mirrors the blank’s taper for perfect alignment and even pressure.

2. The Correct Bonding Process

Using the right adhesive is as important as the fit itself.

  • Rod-building epoxy (not hardware epoxy or superglue) allows proper working time and flexibility.
  • Apply a thin, even coat — too much creates air pockets; too little leads to weak adhesion.
  • Always rotate the grip as you slide it into position to spread adhesive evenly.
  • Avoid overtight fitting: if the bore is too tight, it can force all the adhesive out, leaving dry spots and compromising the bond.

👉 Avoid voids: gaps under the grip can trap moisture and lead to internal corrosion or soft spots.

Unlike mass-produced rods — where components are often stacked on top of each other with little regard for alignment or adhesive depth — a custom build focuses on precision. Each grip is carefully sized, reamed, and bonded to create a true structural connection with the blank, not just a cosmetic fit.

3. Transition to the Reel Seat

The junction between the rear grip and reel seat should feel natural — smooth to touch, watertight, and aligned with the reel.

  • On higher-end builds, the grip is rebated so the reel seat recesses slightly, creating a flush, watertight joint.
  • On standard builds, a trim ring or winding check bridges the transition neatly while sealing against water ingress.
  • Always check reel alignment before epoxy sets.

👉 At K-Labs, rebated grips are a signature feature — designed for precision fit, durability, and that distinctive high-end finish.

4. Foregrips and Water Sealing

Foregrips can also be rebated into the top of the reel seat to keep the join sealed and prevent water intrusion from splashes or rain.

A properly rebated EVA foregrip gives a sleek, integrated finish and reinforces the rod’s overall strength line.

5. Finishing Touches

Once epoxy cures, seal the joins with a fine bead of clear epoxy or a custom trim component to prevent wear over time.

The final look should be seamless — as though grip, reel seat, and blank were machined from one piece.

Conclusion

The way a grip connects to the blank and reel seat says everything about a builder’s attention to detail.

A correct fit doesn’t just look professional — it improves comfort, prevents moisture damage, and extends the life of the rod. Whether you’re shaping cork or rebating EVA, precision and fit are what separate assembled rods from crafted ones.

How to Replace a Damaged Rod Tip: Step-by-Step Guide

Tip guides are the most common part of a rod to break or wear out — whether from knocks, pressure, or line friction. The good news is that replacing a tip is simple once you know how to size it correctly and install it properly.

Here’s a clear step-by-step guide.

Step 1: Measure for the Correct Tip Size

There are two key measurements you need to get right:

1. Tube Size (Pipe Size)

  • This is the inside diameter (ID) of the tip tube that fits over your rod blank.
  • Measure the outside diameter (OD) of the blank at the very end using calipers or a tip gauge.
  • Pipe sizes usually increase in 0.2 mm steps (e.g., 2.0 mm, 2.2 mm, 2.4 mm, 2.6 mm).
  • Example: If your blank measures 2.18 mm, a 2.0 mm tip is the correct choice.

2. Don’t Confuse Tube Size with Ring Size

  • Tube size determines how the tip attaches to the rod blank.
  • Ring (insert) size is the opening the line passes through.
  • They are measured differently — you’ll need both correct for a proper replacement.

3. Ring (Insert) Size

  • This refers to the outside diameter of the ceramic insert — the actual ring the line passes through, not the guide frame.
  • Common sizes are 6, 8, 10, etc.
  • Larger rings suit heavy leaders or surf rods, while smaller rings are best for finesse setups.

Step 2: Remove the Damaged Tip

  • Gently heat the old tip guide with a lighter for just a couple of seconds.
  • Twist and pull it off using pliers or your fingers (with care).
  • If it won’t budge, don’t force it — a touch more heat usually does the trick.

Tip: Avoid overheating. Too much heat can weaken or damage the blank itself.

Step 3: Prepare the Blank

  • Clean off any old glue or residue from the blank tip.
  • Lightly scuff the blank end with fine sandpaper if needed so the new tip bonds properly.
  • Always ensure the blank tip is dry and free from oils or dirt before fitting the new guide.

Step 4: Attach the New Tip

  • Use rod tip adhesive (hot melt glue) — never use superglue or epoxy, as these can make future repairs impossible or damage the blank.
  • Heat the glue stick, apply a thin layer to the rod tip, and slide the new tip guide into place.
  • Quickly align it with the other guides before the glue cools.

Step 5: Final Alignment

  • Sight down the rod to make sure the new tip guide lines up perfectly with the rest of the guides.
  • Make small adjustments immediately while the glue is still soft.
  • Once cooled, the tip should be firmly fixed and ready for action.

Final Thoughts

Replacing a tip guide is one of the easiest rod repairs you can do at home. With the right measurements, correct adhesive, and a steady hand, you’ll have your rod back on the water in no time.

✅ Disclaimer: The information above is based on hands-on rod building and repair experience. There are always multiple ways to do a job, but these methods are tried, tested, and safe for most modern rods.

Fluorocarbon Fishing Lines Explained: Hard, Supple & Super

When it comes to leaders and mainlines, fluorocarbon has earned its reputation as the go-to choice for anglers who want abrasion resistance, invisibility, and strength. But not all fluorocarbons are created equal. In fact, there are three main types you’ll come across: hard, supple, and super fluorocarbon — each designed with different fishing situations in mind.

This breakdown will help you understand what sets them apart, and why choosing the right one can make or break your day on the water.

Why Fluorocarbon?

Unlike monofilament, which absorbs water and loses up to 20–30% strength when wet, fluorocarbon absorbs virtually no water (<0.05%), meaning it maintains its rated breaking strain in real conditions. This is a huge advantage when fishing around structure or in heavy current where you’re pushing your tackle to its limits.

The Three Types of Fluorocarbon

1. Hard Fluorocarbon

  • Purpose: Built tough for abrasion resistance.
  • Attributes: Stiffer, holds its shape, and resists nicks when fishing around rocks, reefs, or shell beds.
  • Best use: Perfect as a short leader in snaggy or abrasive environments.
  • Trade-off: Can be harder to knot cleanly, and stiffness may reduce natural lure action.

2. Supple Fluorocarbon

  • Purpose: Designed for stealth and natural presentation.
  • Attributes: Softer and more flexible, allowing lures and baits to move freely.
  • Best use: Great in clear water where fish are spooky, or when fishing lighter lines.
  • Trade-off: Slightly less abrasion resistant than hard fluorocarbon, so it may wear quicker if dragged across rough ground.

3. Super Fluorocarbon

  • Purpose: A newer blend that balances toughness with knot strength.
  • Attributes: Softer and higher in elongation than hard fluoro, which means knots pull up tighter and braided lines “bite” better without slipping.
  • Best use: Ideal when fishing with braid and wrap-style knots (like FG or PR knots) where security is critical.
  • Trade-off: While stronger at the knot, the added softness can make it less abrasion-resistant than a pure hard fluorocarbon.

Choosing the Right Fluorocarbon

  • Fishing in heavy structure? → Hard fluorocarbon will save you from bust-offs.
  • Chasing finicky fish in clear water? → Supple fluorocarbon offers stealth and movement.
  • Running braid with critical knots? → Super fluorocarbon helps knots lock down stronger and reduces slippage.

Like most tackle choices, it’s about matching the line to the conditions and your fishing style.

Final Word

Some days fluorocarbon won’t make a huge difference. Other days, it’s the edge between a quiet trip and a full bin. Knowing the differences between hard, supple, and super fluorocarbon gives you the tools to choose smart — and land more fish.

This post is based on my own experiences and observations on the water, along with information gathered from manufacturers and tackle testing. Other anglers may have different results depending on conditions, brands, or fishing styles.