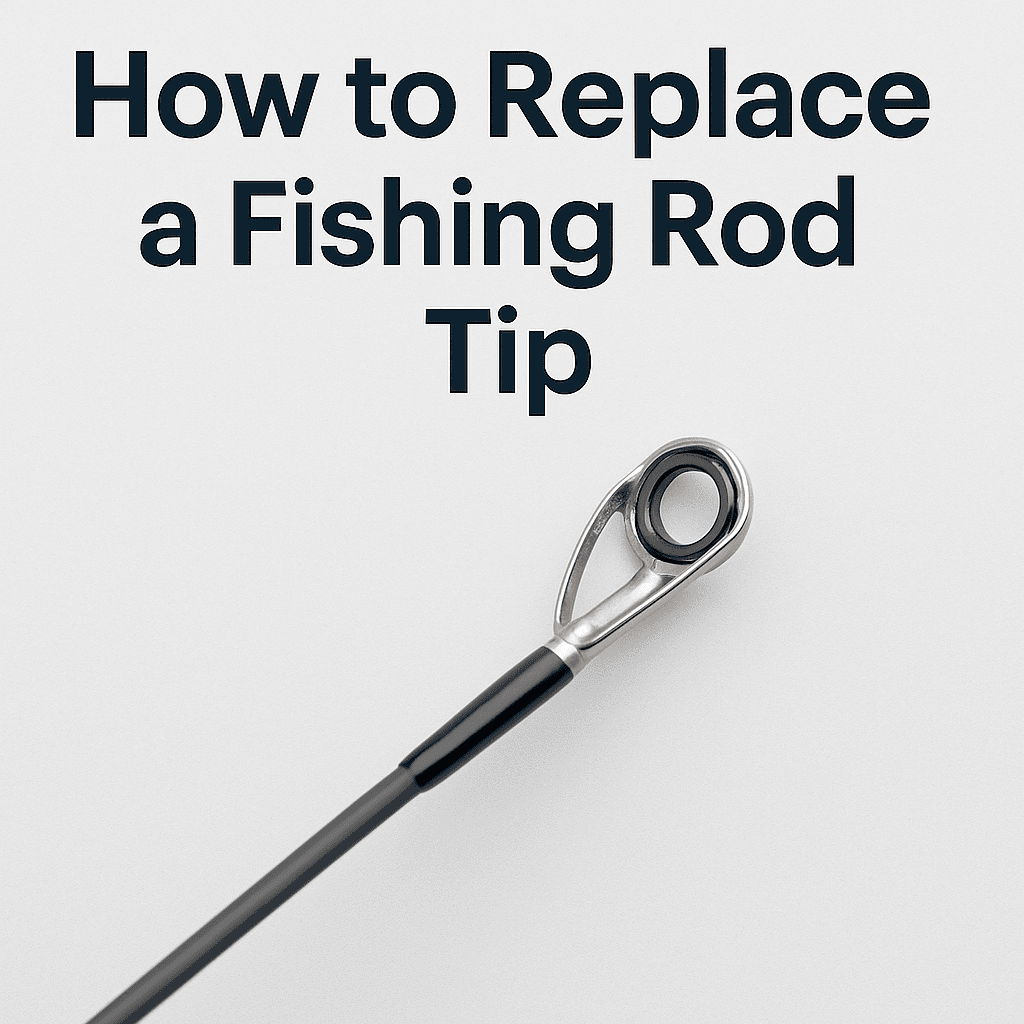
Tip guides are the most common part of a rod to break or wear out — whether from knocks, pressure, or line friction. The good news is that replacing a tip is simple once you know how to size it correctly and install it properly.
Here’s a clear step-by-step guide.
Step 1: Measure for the Correct Tip Size
There are two key measurements you need to get right:
1. Tube Size (Pipe Size)
- This is the inside diameter (ID) of the tip tube that fits over your rod blank.
- Measure the outside diameter (OD) of the blank at the very end using calipers or a tip gauge.
- Pipe sizes usually increase in 0.2 mm steps (e.g., 2.0 mm, 2.2 mm, 2.4 mm, 2.6 mm).
- Example: If your blank measures 2.18 mm, a 2.0 mm tip is the correct choice.
2. Don’t Confuse Tube Size with Ring Size
- Tube size determines how the tip attaches to the rod blank.
- Ring (insert) size is the opening the line passes through.
- They are measured differently — you’ll need both correct for a proper replacement.
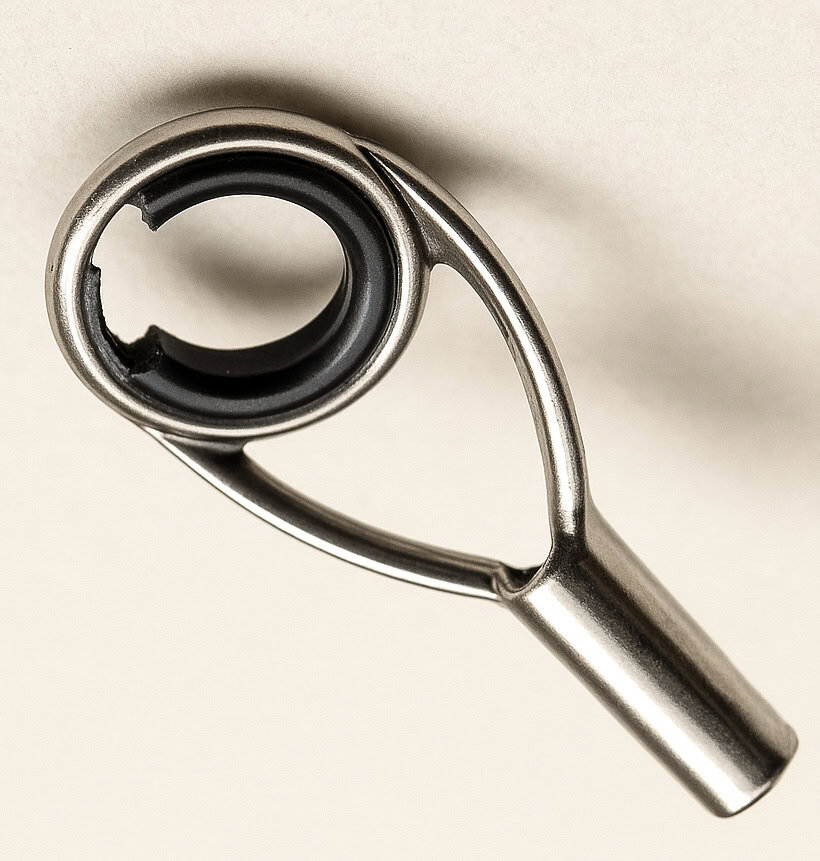
3. Ring (Insert) Size
- This refers to the outside diameter of the ceramic insert — the actual ring the line passes through, not the guide frame.
- Common sizes are 6, 8, 10, etc.
- Larger rings suit heavy leaders or surf rods, while smaller rings are best for finesse setups.
Step 2: Remove the Damaged Tip
- Gently heat the old tip guide with a lighter for just a couple of seconds.
- Twist and pull it off using pliers or your fingers (with care).
- If it won’t budge, don’t force it — a touch more heat usually does the trick.
Tip: Avoid overheating. Too much heat can weaken or damage the blank itself.
Step 3: Prepare the Blank
- Clean off any old glue or residue from the blank tip.
- Lightly scuff the blank end with fine sandpaper if needed so the new tip bonds properly.
- Always ensure the blank tip is dry and free from oils or dirt before fitting the new guide.
Step 4: Attach the New Tip
- Use rod tip adhesive (hot melt glue) — never use superglue or epoxy, as these can make future repairs impossible or damage the blank.
- Heat the glue stick, apply a thin layer to the rod tip, and slide the new tip guide into place.
- Quickly align it with the other guides before the glue cools.
Step 5: Final Alignment
- Sight down the rod to make sure the new tip guide lines up perfectly with the rest of the guides.
- Make small adjustments immediately while the glue is still soft.
- Once cooled, the tip should be firmly fixed and ready for action.
Final Thoughts
Replacing a tip guide is one of the easiest rod repairs you can do at home. With the right measurements, correct adhesive, and a steady hand, you’ll have your rod back on the water in no time.
✅ Disclaimer: The information above is based on hands-on rod building and repair experience. There are always multiple ways to do a job, but these methods are tried, tested, and safe for most modern rods.